When it comes to WordPress SEO plugins, Yoast SEO is the gold standard. But despite its general ease of use, things can still get a bit hazy when it comes time to configure Yoast SEO, especially with respect to the advanced settings that the plugin initially hides from view.
To remove that haze and give you some clear skies when it comes to your site’s on-page SEO, I’m going to spend this post showing you how to configure Yoast SEO basic and advanced settings, complete with plenty of screenshots to make it easy to follow along.
If you prefer learning via video instead of text, the 15-part Yoast SEO plugin course from WP101 is also a great option to learn the ins-and-outs of Yoast SEO.
How to Configure Yoast SEO Basic Settings
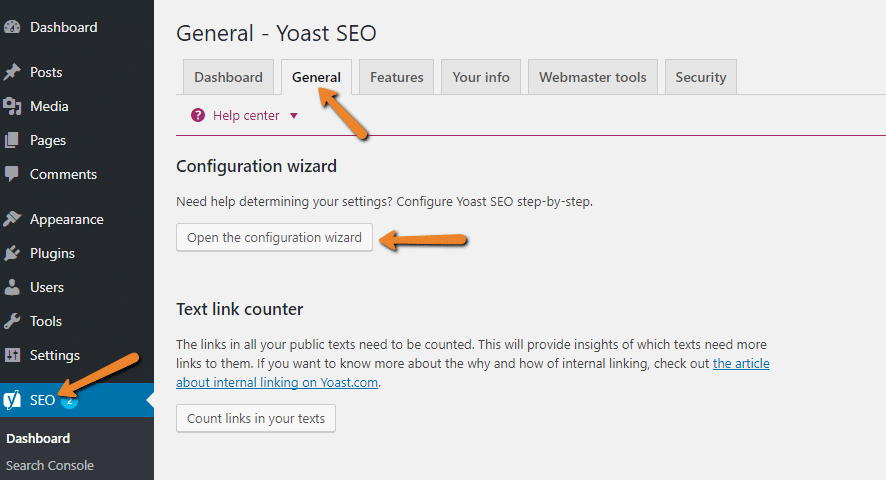
When you first install Yoast SEO, the plugin prompts you to run through a basic website setup wizard. If you don’t see this prompt right away (this happens sometimes), you can access it at any time by clicking on the SEO link in your sidebar and going to the General tab.
From there, click the Open the configuration wizard button:
Then, click the Configure Yoast SEO button in the welcome screen to begin the configuration process.
I’ll show you how to do things yourself – but if you’d rather outsource the setup, one option is to hire Yoast to do it for you. Or, you can always hire us – we’d be happy to do it!
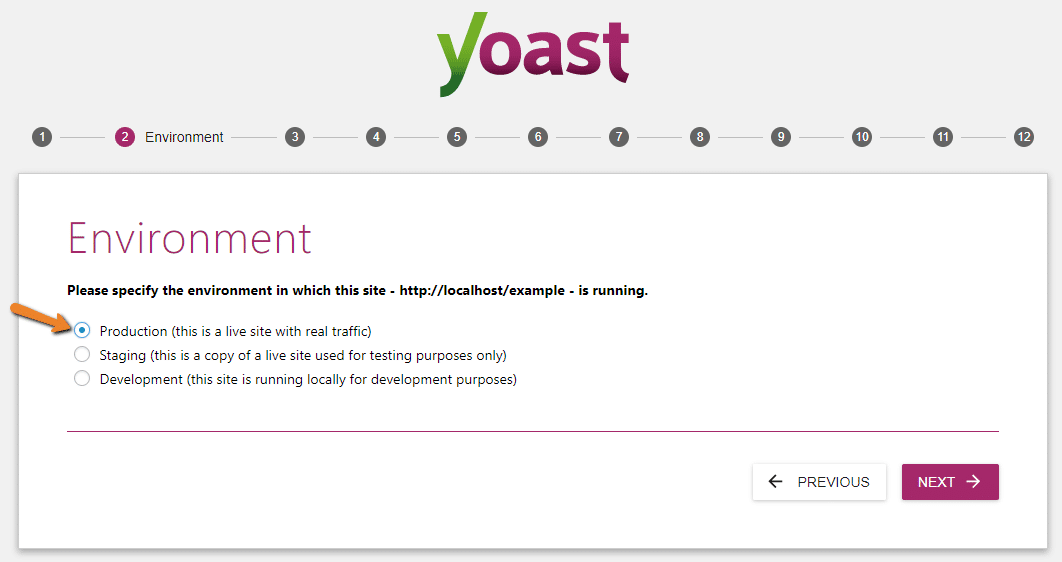
2. Environment
In the Environment tab, you’ll almost always want to choose Production (a live site with real traffic) unless you specifically know that you’re working on a staging or development site.
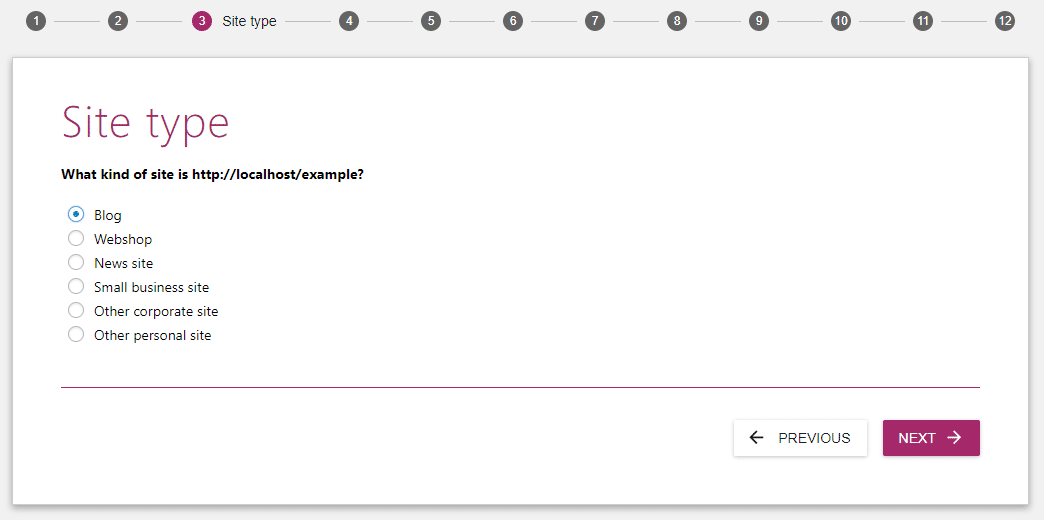
3. Site type
In the Site Type tab, choose the option that most closely fits your website. Don’t stress too much about this and pick a category that feels right:
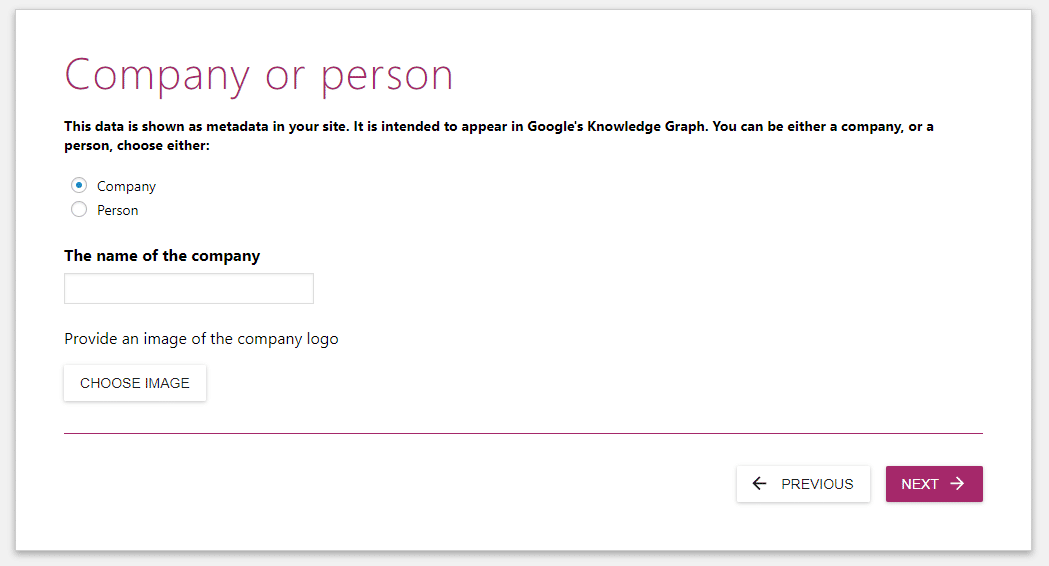
4. Company or person
If you’re creating a personal site, choose Person. On the other hand, if you’re creating a site for a business entity, click on Company.
When you choose an option, you’ll also be asked to provide the name of the company or person. The company logo option only appears when you choose Company:
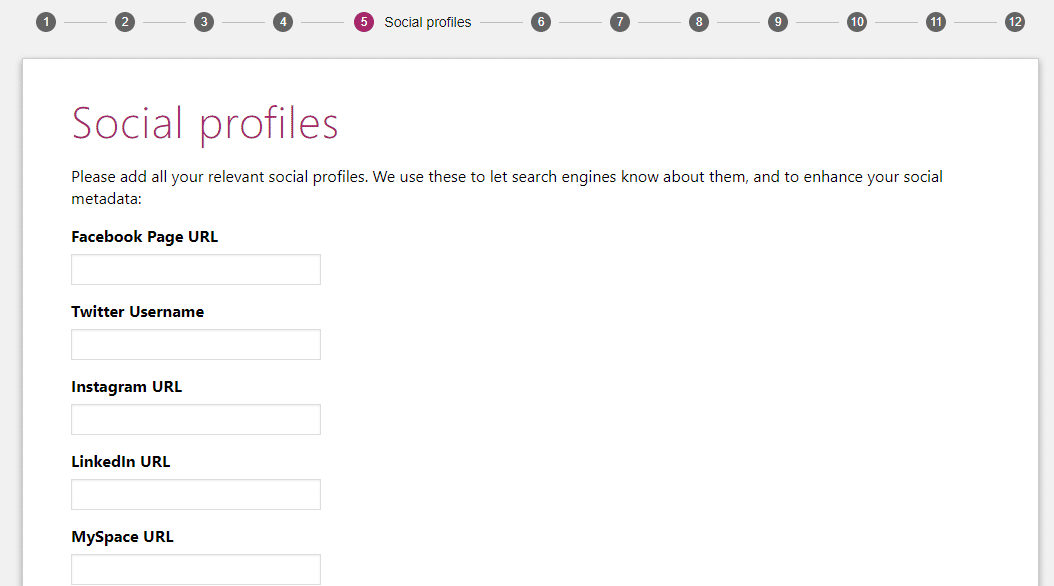
5. Social profiles
Enter the direct URL to your social profiles and your twitter username. Don’t feel like you need to enter something for every network – only the ones you are actively promoting:
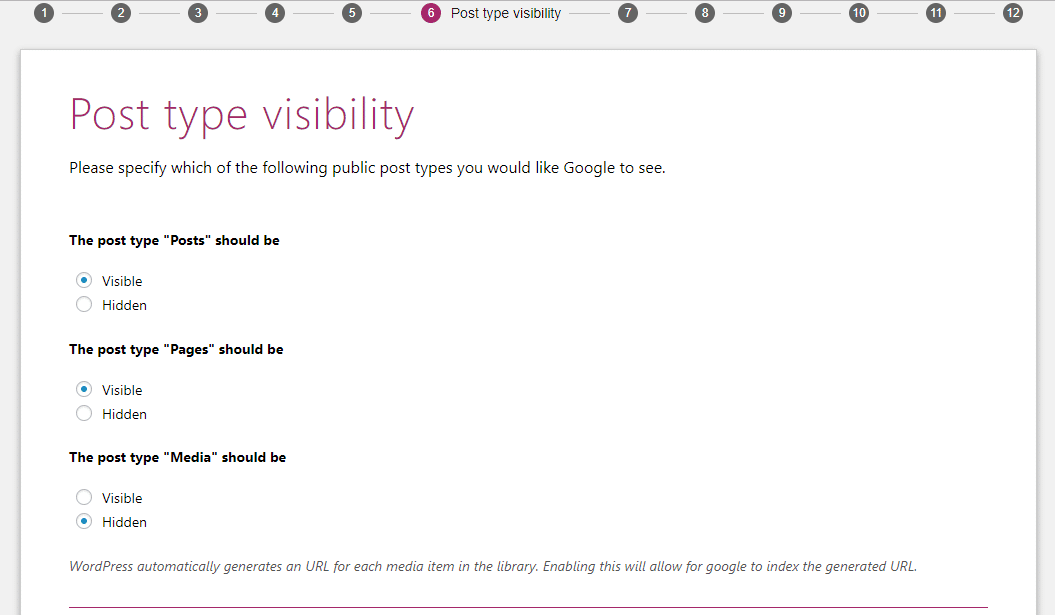
6. Post type visibility
99.9% of the time, you’ll want to leave these settings as the default. Only change something from Visible to Hidden if you absolutely know what you’re doing:
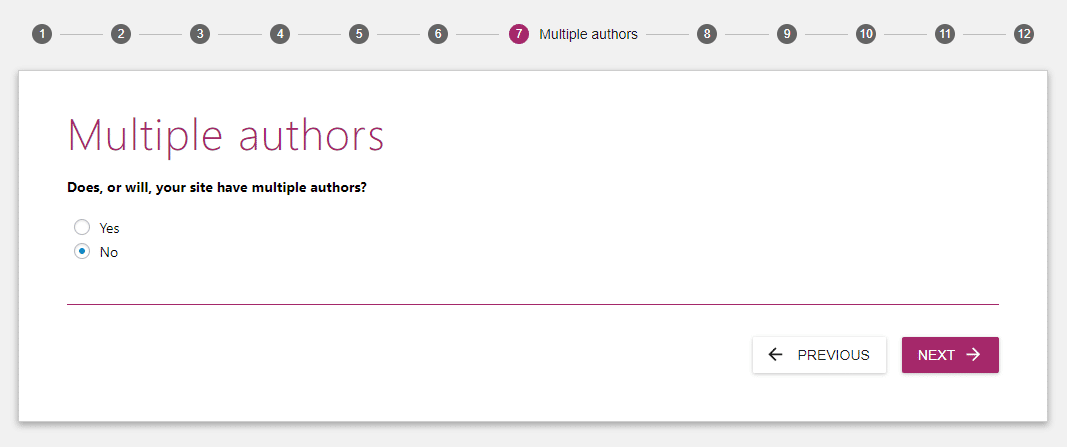
7. Multiple authors
Choose whether or not you’ll have different people writing content for your site. If you’ll be the only person publishing posts, choose No. If you’ll publish posts from others, choose Yes:
8. Google Search Console
This step is entirely optional. If you want to allow Yoast SEO to display Google Search Console information in your WordPress dashboard, click the Get Google Authorization Code and complete the authorization process.
If you don’t want or need this feature, feel free to skip it and click the Next button:

9. Title settings
Your “Title” is the bit of text that displays as your site’s headline in Google search results.
By default, Yoast SEO structures titles for your posts and pages like:
POST NAME “Separator” WEBSITE NAME
In this setting, you can choose the Website name and Separator part of the equation:

To give you an idea of how that plays out – if you configure your site like the example screenshot above, Yoast SEO would give a post called “How to Configure Yoast SEO” a default title like this:
How to Configure Yoast SEO – Your Cool New WordPress Site

10-12. You’re Done!
At this point, you’re finished with the basic configuration. If you like, sign up for the Yoast newsletter or check out the premium plugin version. Or you can click the next button a few times to advance to the Success screen. Then, click Close:

Enabling or Disabling Core Yoast Features
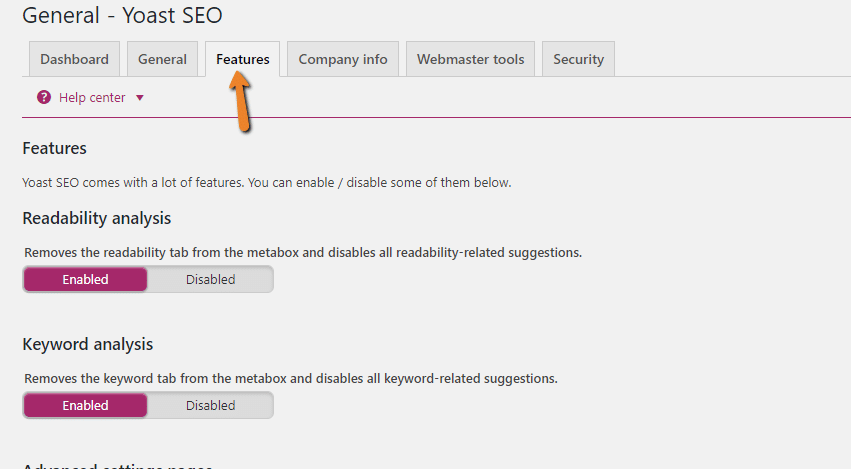
Once you go through the basic setup wizard, you can enable or disable specific Yoast SEO features by going to the Features tab.
By default, Yoast SEO tries to help with both Readability and Keyword Analysis. If you want to disable one or both of those features, you can do that here. I’ll cover how to use these tools in a separate post.
You can also enable or disable other features like indexing checks, the admin bar menu, text link counters, and a few smaller features:
The plugin explains what each feature does, so you should have a good idea of exactly what you’re enabling and disabling in this section.
How to Access and Configure Advanced Yoast SEO Settings
So far, Yoast SEO seems pretty basic. That’s because the developers made the decision to hide most of the more specific features behind a concealed Advanced settings pages area.
To enable the Yoast SEO Advanced Settings pages, you need to go to that same Features tab from above and toggle on the Advanced settings pages option:
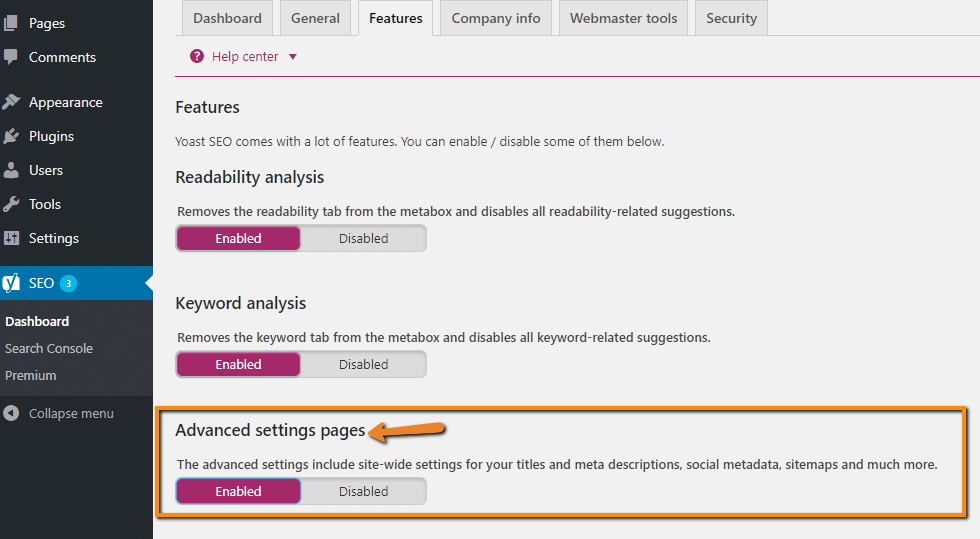
Make sure to save your changes.
Now, you’ll see a bunch more menu options under SEO in your WordPress dashboard sidebar:

Here’s what all of those new tabs do.
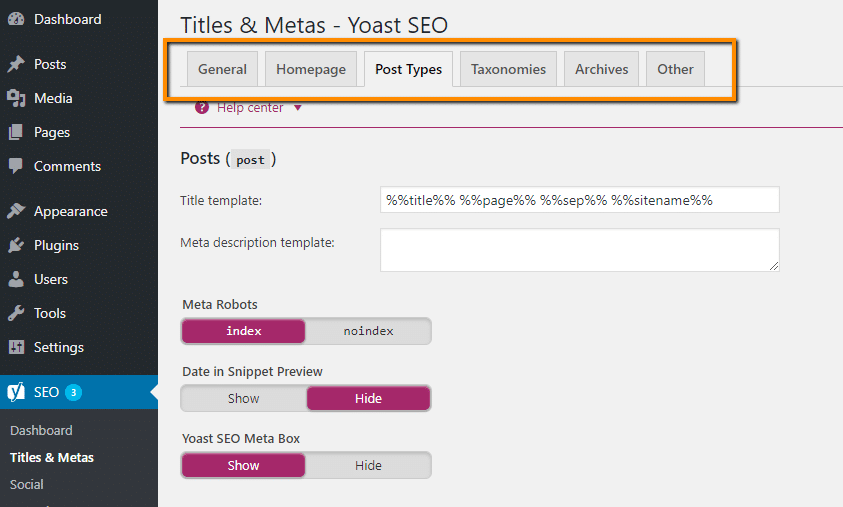
Yoast SEO Titles & Metas
In the Titles & Metas area, you can choose the default title and description structure for all of your various post types and taxonomies, as well as whether or not to index each type of content.
What makes Yoast SEO so powerful is that you can mix and match variables in your Title and Meta description templates to save yourself a ton of time, especially if you’re working with large amounts of content.
For a full list of variables, check out this Yoast knowledge base entry:
You can always modify the structure for individual pieces of content, so don’t worry about Yoast SEO forcing you to use these templates for everything.
Yoast SEO Social
In the Social area, you can configure advanced information about various social networks.
In addition to the basic social network links that you set during the configuration wizard, you can also use the different tabs to set up more advanced social network settings like Facebook Open Graph meta data:
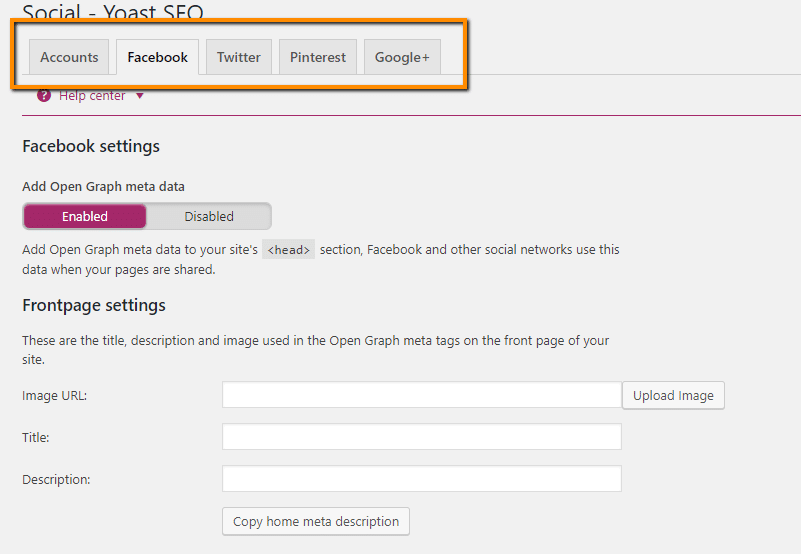
These settings help you customize how your website looks when it gets shared on social media. You can also customize this information for each individual post or page, which I’ll cover in a future post.
Yoast SEO XML Sitemaps
In the XML Sitemaps area, you can configure what content is included in the sitemap that Yoast SEO automatically generates. Or, you can also disable the sitemap functionality if you’d prefer (though I don’t recommend that):
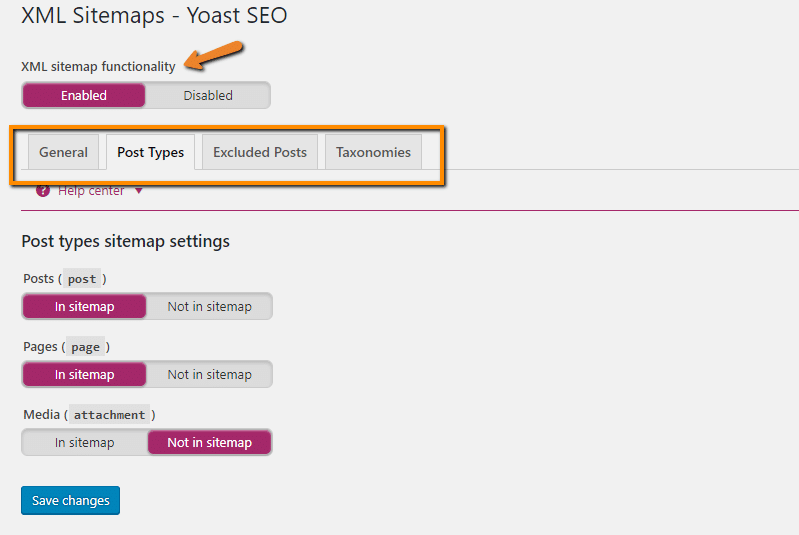
You can always access your sitemap at “yourdomain.com/sitemap.xml” or by visiting the XML Sitemap setting. And it’s a good idea to submit this sitemap at Google Search Console.
Yoast SEO Advanced
In the Advanced area, you can configure a few different settings that aren’t worthy of their own section.
- Breadcrumbs – the plugin can help you add breadcrumbs to your site, though you’ll need to add a PHP snippet to your theme’s template files to make it work.
- Permalinks – you can make changes to your permalinks like removing the category base slug from category URLs and choosing how much you want Yoast SEO to clean up your permalinks. Leaving the default option to Remove stop words in slugs is usually a good choice.
- RSS – you can add content to your RSS feed that appears before or after the post content. This is an advanced feature that helps ensure you get credit for your content, but make sure to use it carefully.

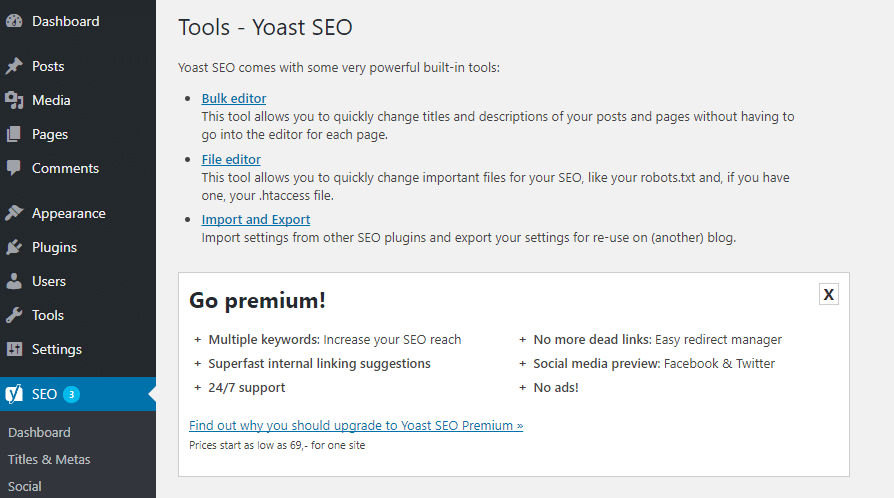
Yoast SEO Tools
The Tools section lets you access a Bulk Editor to change multiple posts’ SEO settings at a time, a File Editor to edit your robots.txt and .htaccess files, and an Import and Export tool to import settings from another SEO plugin or export your current site’s settings:
Going Further: Exploring the Yoast SEO Meta Box
And that wraps up the basics on how to configure Yoast SEO. While the plugin does technically work out of the box, you have a great deal more control over your site when you take advantage of the advanced settings.
These settings are not the end of Yoast SEO, though. In the next post in this series, I’ll dig into how you can use the Yoast SEO Meta Box to configure SEO and social settings for individual posts and pages on your site. I hope you found this post helpful and are ready to dive in and configure Yoast SEO!